Creating a never booted OS X template in vSphere 5.1 - Part 3 - Applying a configuration and exporting a Master, using System Image Creator
After the image is created, go to the Main Menu of SIC, and select ‘5) System Setup’, and you will get a menu called ‘Configure System’ as shown below in the screenshot.
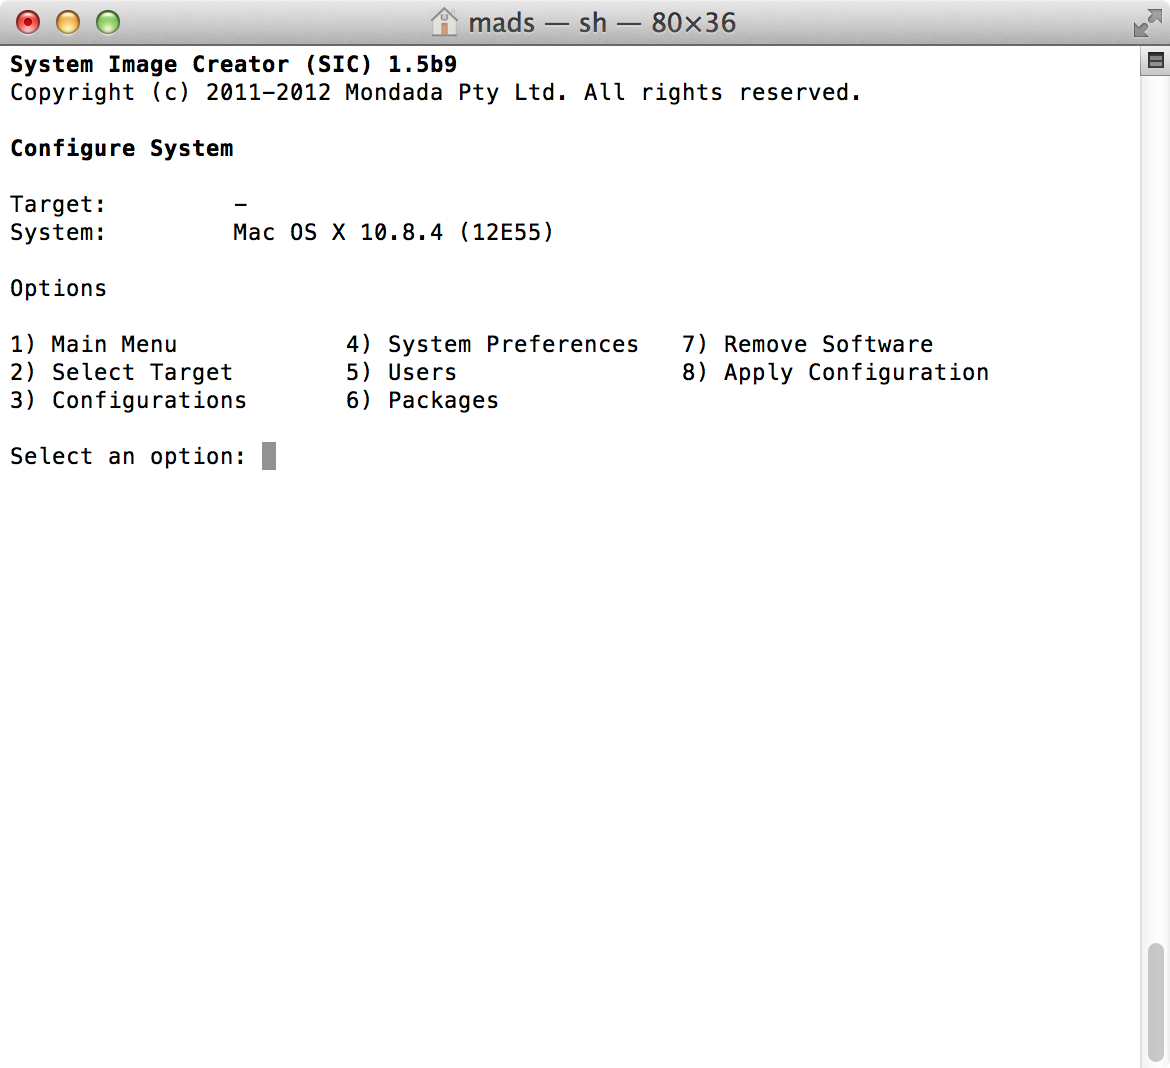
Start by selecting ‘2) Select Target’, where you should be presented with the option to select the image you just previously created.
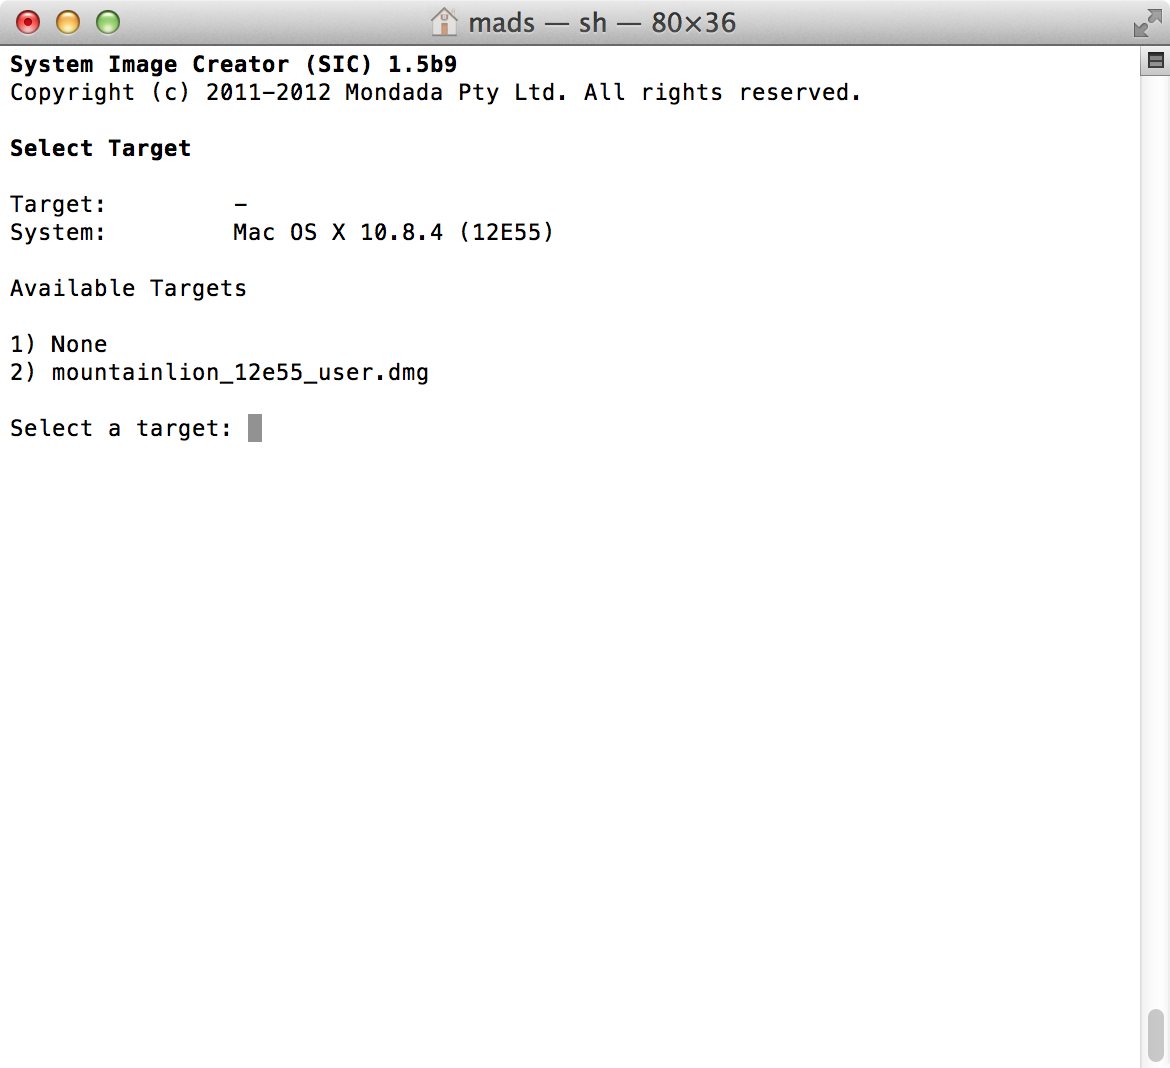
Select your target, in my case it is ‘2) mountainlion_12e55_user.dmg’, and you will be returned to the ‘Configure System’ menu, where the target has been selected.
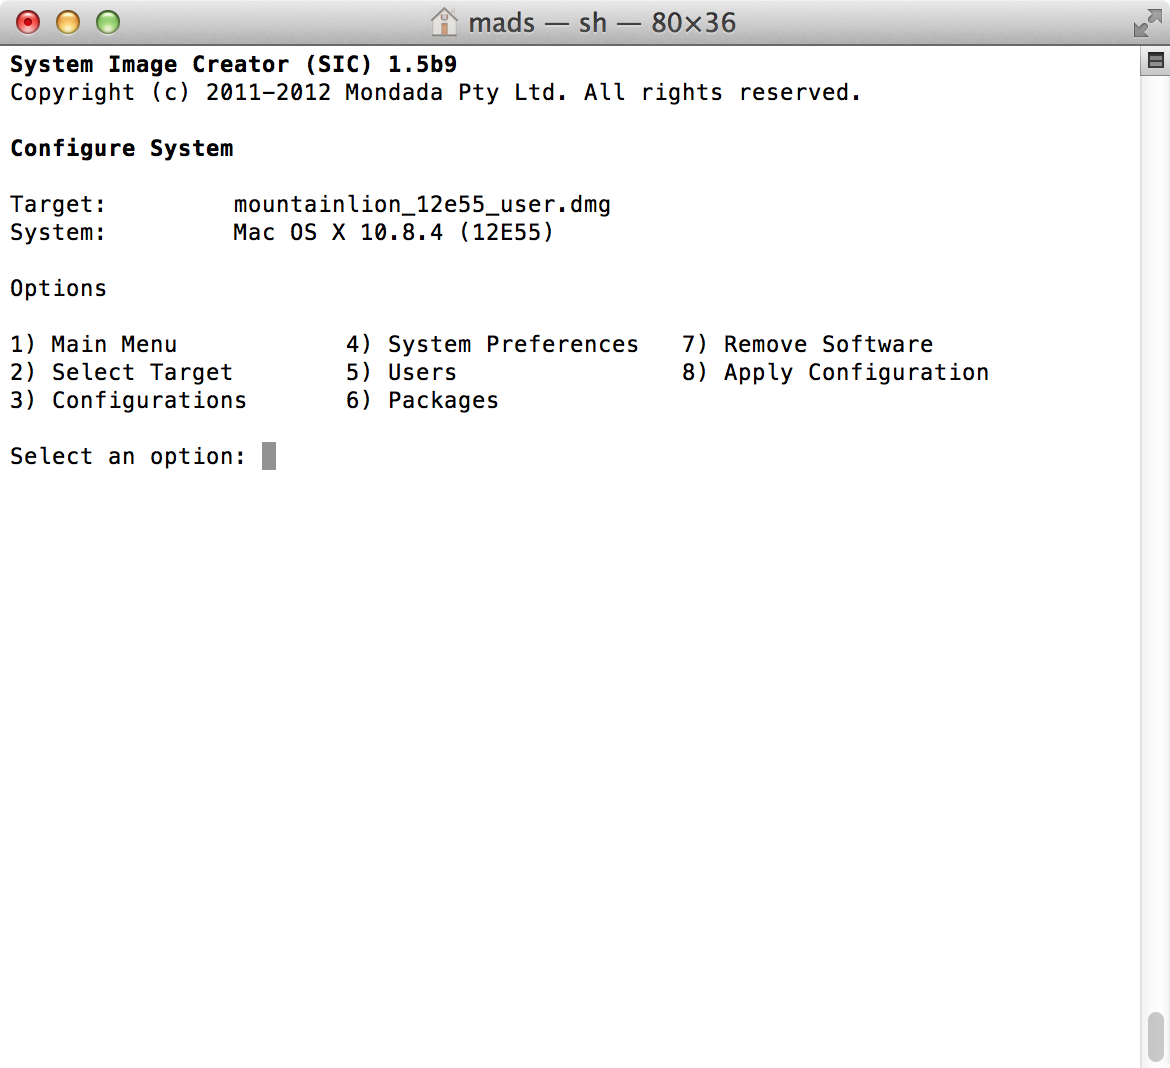
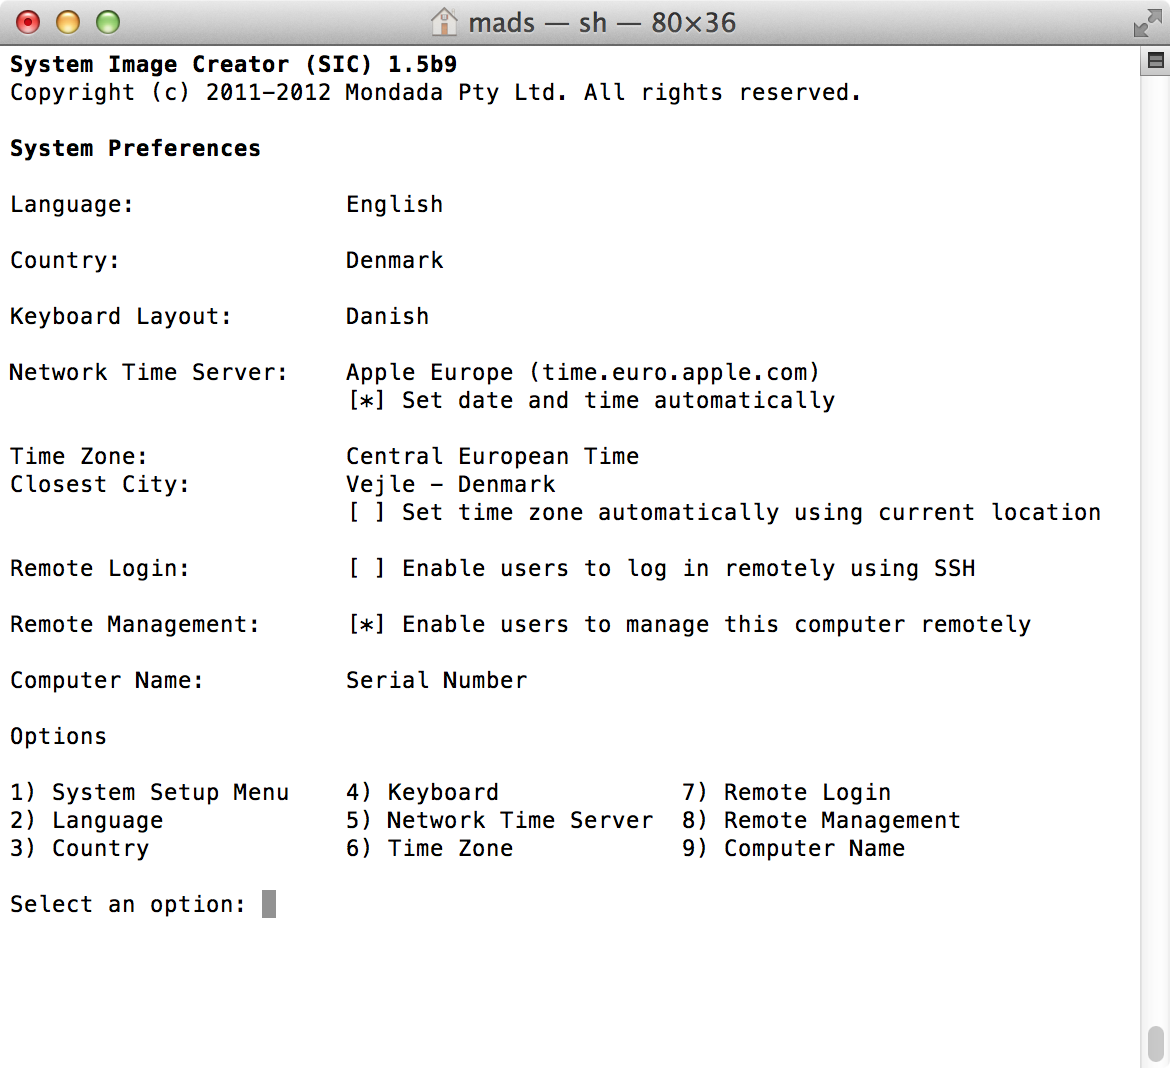
Now select ‘4) System Preferences’, where you will get multiple configuration options as shown below.
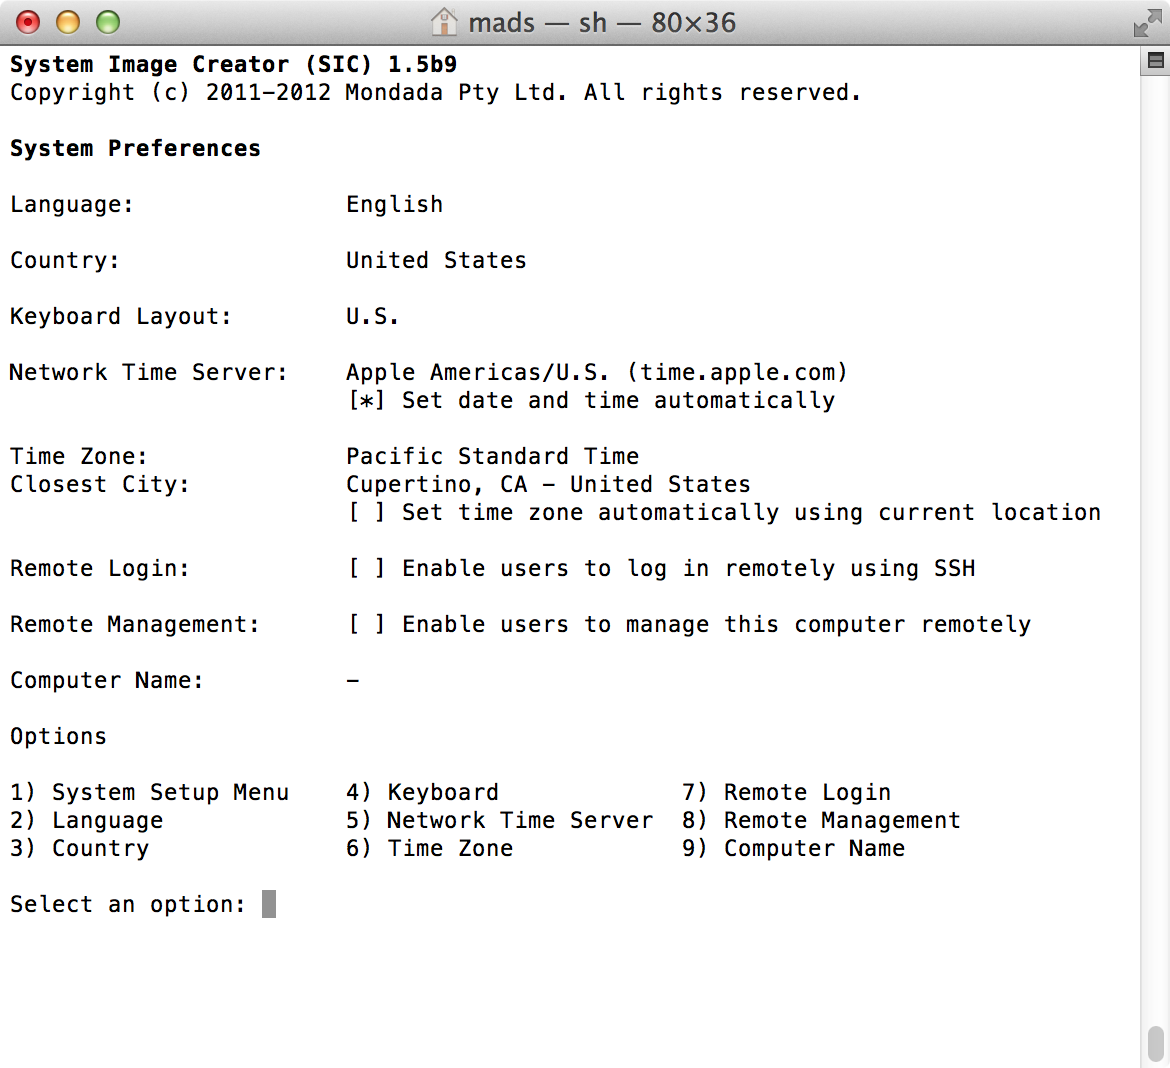
I my case, being from Denmark, I will setup the system with Denmark as country and a Danish Keyboard layout, but I will keep the English language, as I prefer that on my computer systems.
I will set the ‘Network Time Server’ to ‘Apple Europe (time.euro.apple.com)’ and choose to set the date and time automatically.
For the ‘Time Zone’, I of cause choose ‘Central European Time’, and selects the nearest larger city to me, more preciously ‘Vejle - Denmark’.
I don’t want ‘Remote Login’ enabled, but I will enable ‘Remote Management’, which gives starts Remote Desktop client in the OS X installation.
For the ‘Computer Name’ I choose the option ‘Generic using MAC Address’
Illustrated in the screenshot below, is my selections in the ‘System Preferences’ menu.
Now choose ‘1) System Setup Menu’ to be returned to the ‘Configure System’ screen.
Here choose ‘5) Users’.
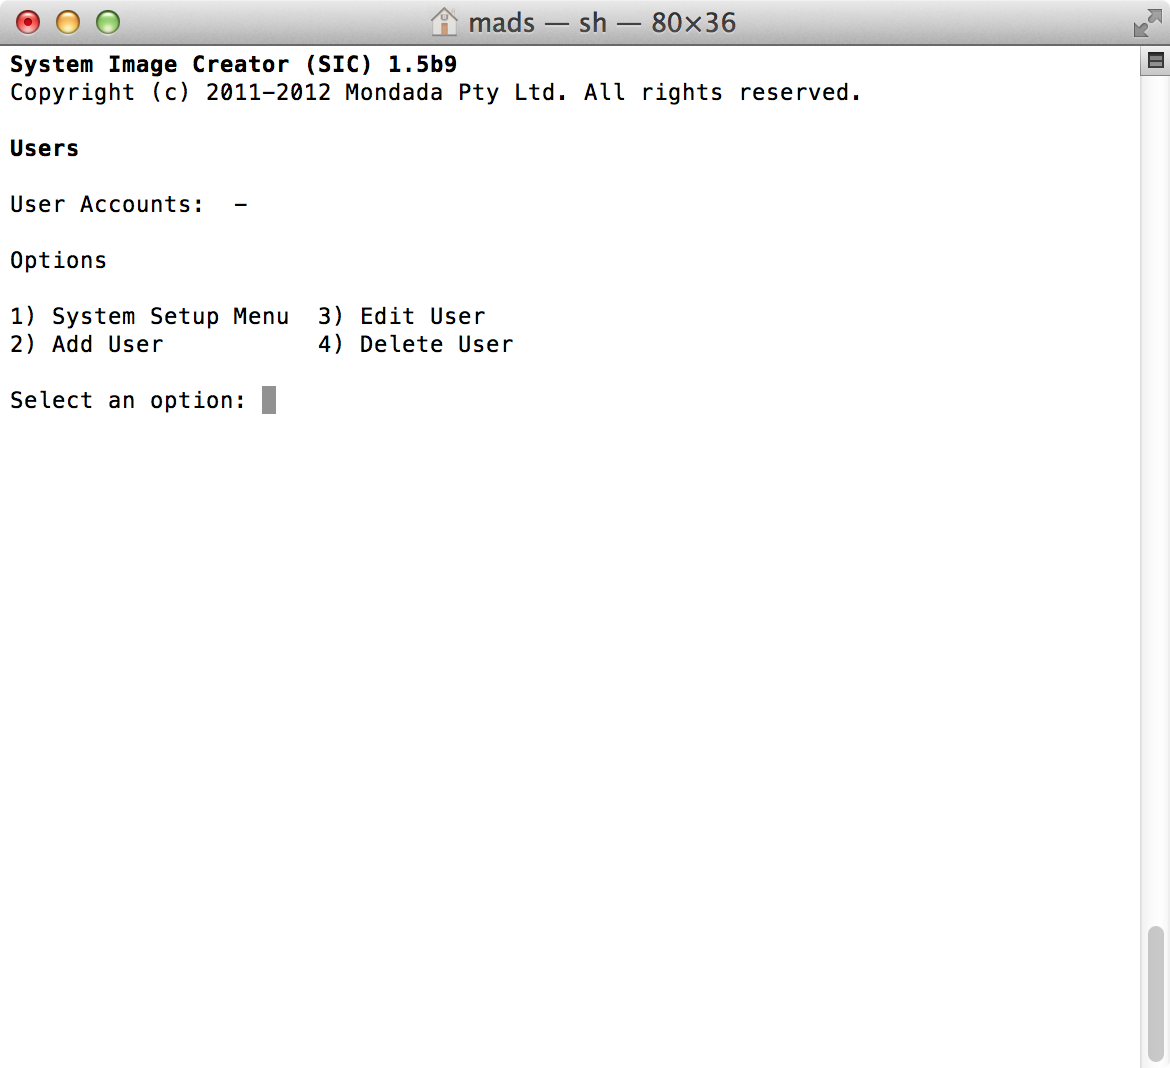
In the ‘Users’ menu select ‘2) Add User’
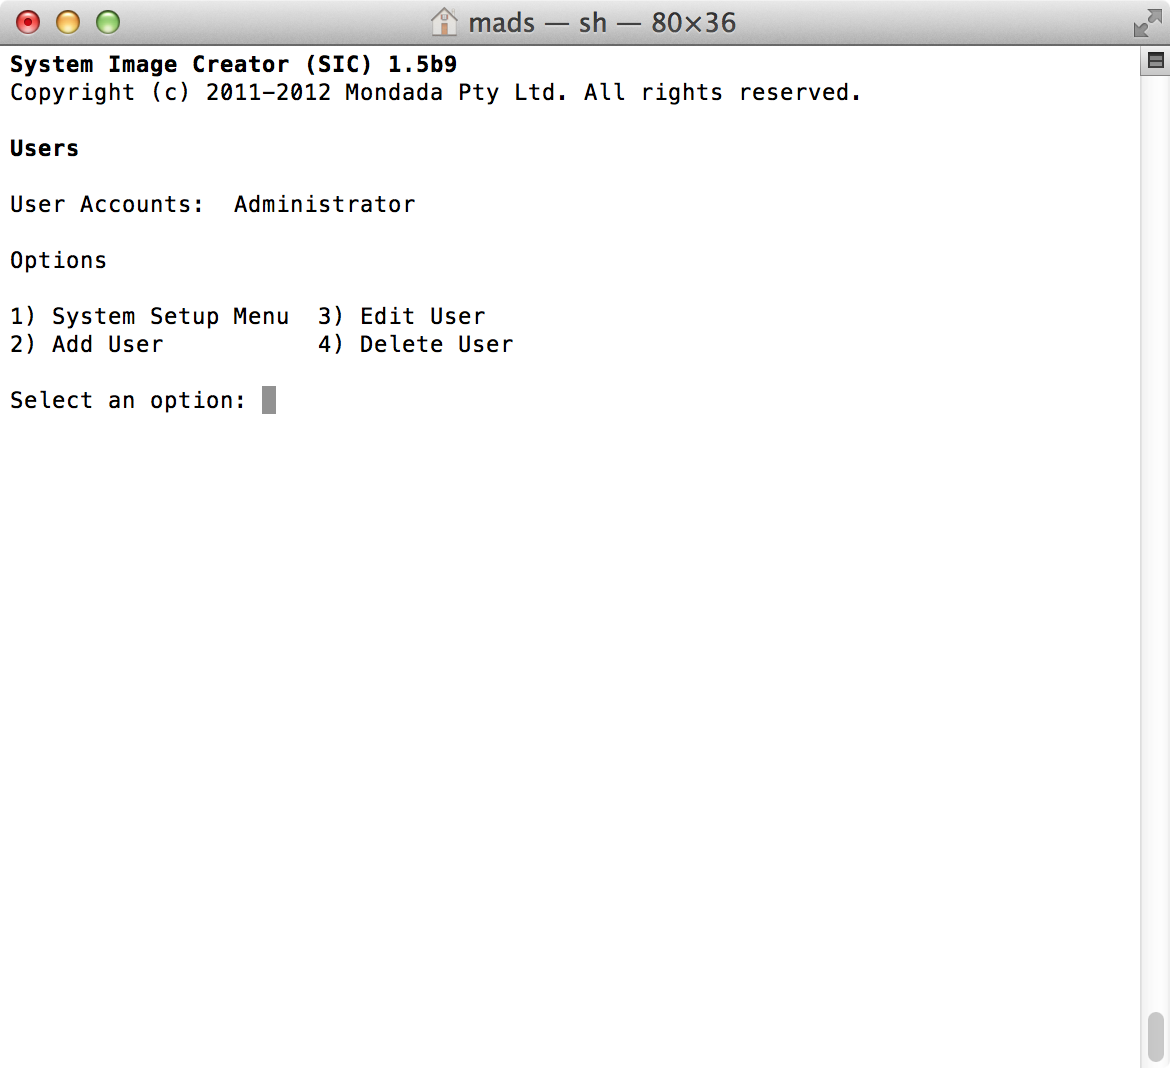
Answer the questions for adding the user, and you will end up with some thing similar to the below screenshot.

Back at the ‘Users’ menu, there will now be listed the User account you just added.
Here select ‘1) System Setup Menu’ to return to the ‘Configure System’ screen.
Here you could select ‘3) Configurations’ and save your configurations, if you want to re-use it at a later point in time. Although you should realize that the password you entered in adding the user account, is saved in clear text in a plist file associated with SIC.
The observant reader might have noticed that I skipped option number 6, ‘Packages’. You might wonder why I haven’t added the VMware Tools as a Package here. Believe me, I have tried, but during the ‘Apply Configuration’ step if fails, and the Package is added as what is called a ‘Postponed’ installation, which means that it will be installed on first boot.
For some that might be good enough, but I want to be sure that the VMware Tools are pre-installed before the system boots for the first time.
That is why we will manually install the VMware Tools into the disk-image later on.
For now select ‘8) Apply Configuration’ and let the computer generate the Master image, which will be saved in the ‘Masters’ folder selected earlier.
The output file was in my case called: ‘mountainlion_12e55_user.i386.hfs.dmg’.
This series of blog posts consists of the following:
- Part 1 – Introduction and reason for doing this
- Part 2 – Creating an never booted DMG using System Image Creator
- Part 3 – Applying a configuration and exporting a Master, using System Image Creator
- Part 4 – Clone the DMG to a Sparseimage file using Disk Utility.app and then install VMware Tools
- Part 5 – Obtain VMware Tools from ESXi host and install into the Sparseimage
- Part 6 – Converting the Sparseimage to VMDK format
- Part 7 – Making the template in vCenter 5.1 using the never booted VMDK