Creating a never booted OS X template in vSphere 5.1 - Part 5 - Obtain VMware Tools from ESXi host and install into the Sparseimage
First we need to enable SSH on a ESXi.
Login to your vCenter through vSphere Web Client and navigate to ‘vCenter -> Host and Clusters’ and choose a ESXi host.
Under the ‘Manage’ tab, select the ‘Settings’ sub-tab.
In list on the left, select ‘Security Profile’, and scroll down to the section named ‘Services’ and click ‘Edit’.
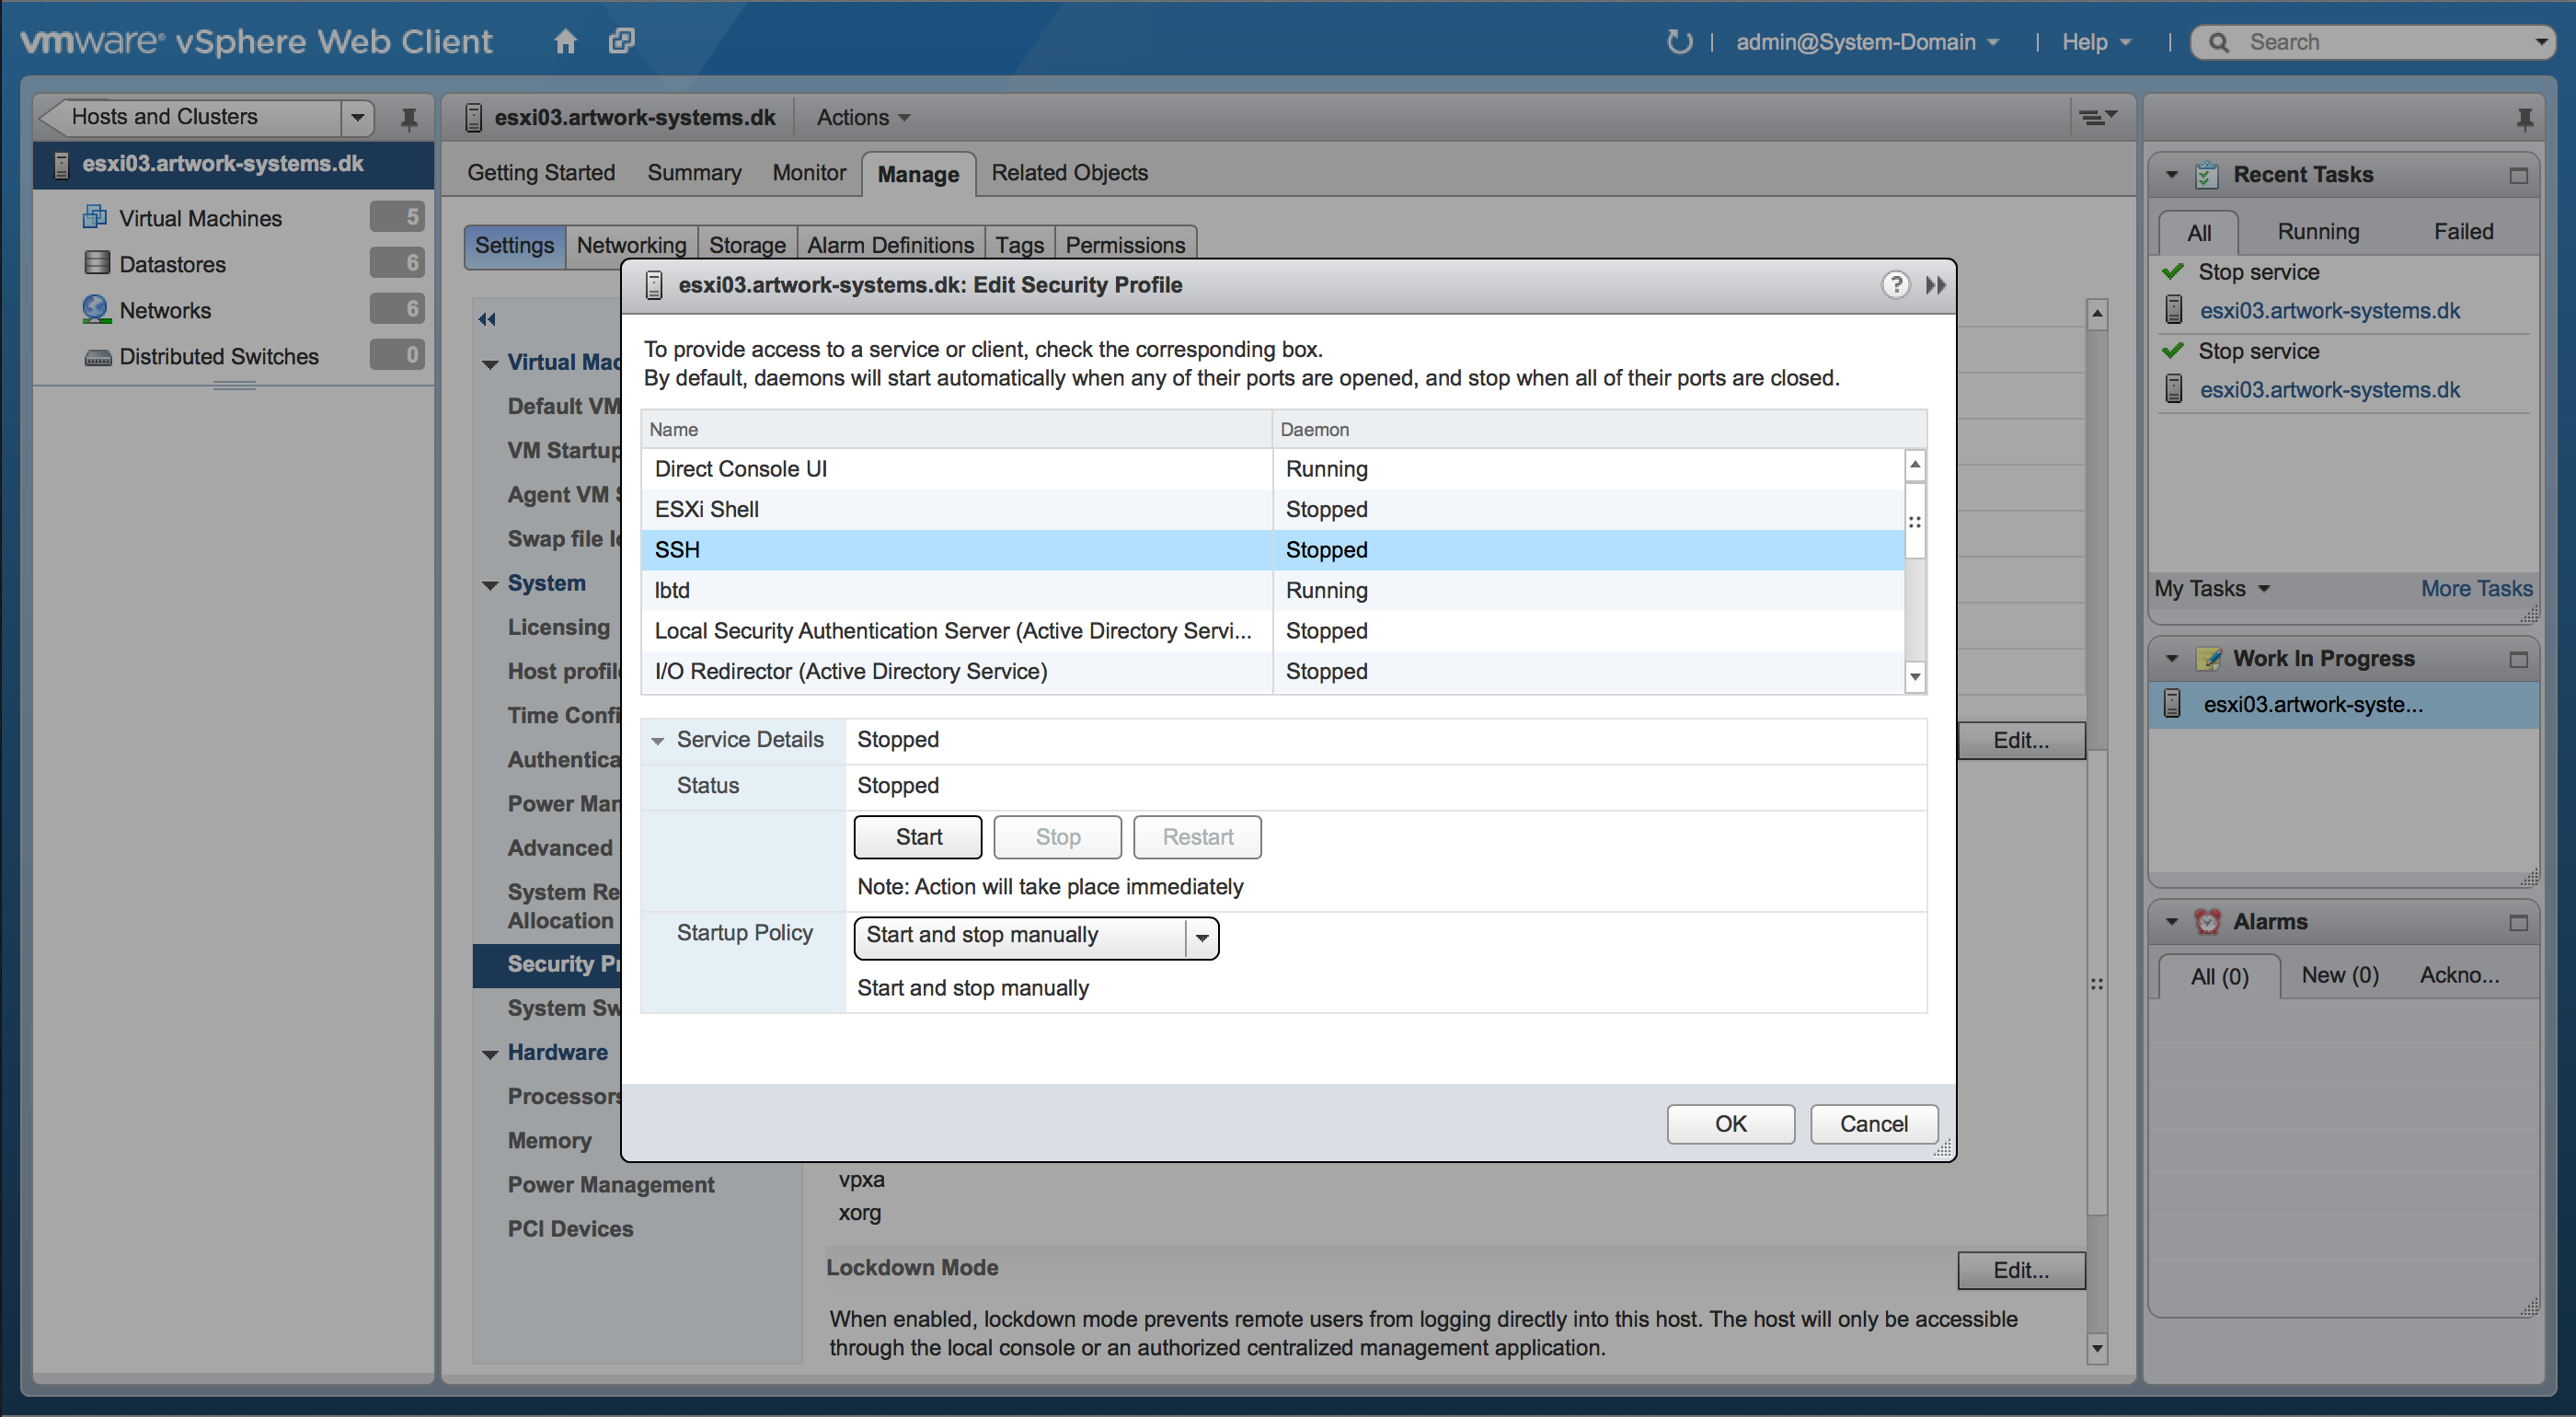
In this window, select the ‘SSH’ and unfold the ‘Service Details’ section in the bottom of the window. In this section click the ‘Start’ buttom.
Now open the ‘Terminal’ application found in ‘/Applications/Utilities/’.
Start by logging into the ESXi host that you enabled SSH on.
|
|
When prompted to install the SSH key, type ‘yes’.
Afterwards type your ESXi hosts root password, when prompted.
You are now connected via SSH to the ESXi host.
We need at piece of information to be able to retrieve the VMware Tools for OS X from the ESXi host, which we can obtain by running the following command:
|
|
That is ’lowercase L + lowercase S + space + hyphen + ONE’, just to be clear.
This should give you a output similarly to this:
|
|
The information we are looking for is the second line, in my case ‘5.1.0’. Note this down, as we need this shortly.
In the terminal window, type ’exit’ to close the SSH connection to the ESXi host.
Now we will use the command ‘scp’ to copy the VMware Tools for OS X from the ESXi host via a SSH connection to the local Desktop.
The command in my case is the following, all in one line:
|
|
To break it down, the scp is the command which means ‘Secure Copy’ the next part is the username at a specific host, here root at esxi03.artwork-systems.dk. The : specifies that we want to start at the root of the hard drive, and then copy the file darwin.iso from inside the following folders, store/packages/5.1.0/vmtools/. The last part is the local file we want to copy to, which in this case is a file called darwin.iso on my Desktop.
When you run the command, you will again be asked for the root password of the ESXi host, enter it when prompted.
After the copy has finished, double click on the ‘darwin.iso’ file on the Desktop.
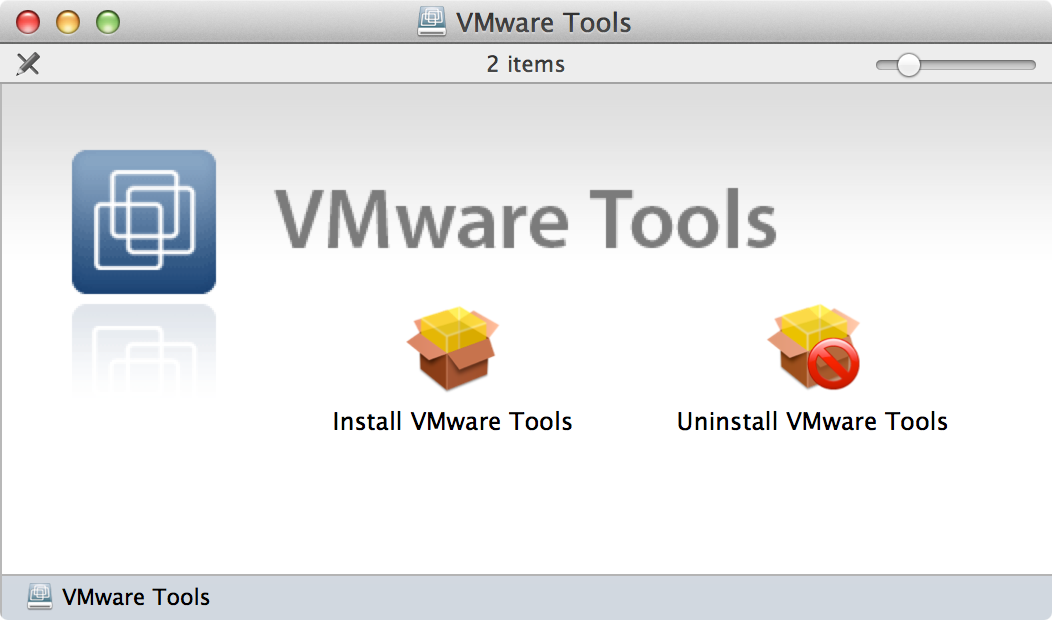
Right click (CTRL+Click) on ‘Install VMware Tools’ and choose ‘Show Package Contents’. In the new Finder window, navigate into the following folders ‘Contents -> Resources’, and there should be a file called ‘VMware Tools.pkg’.
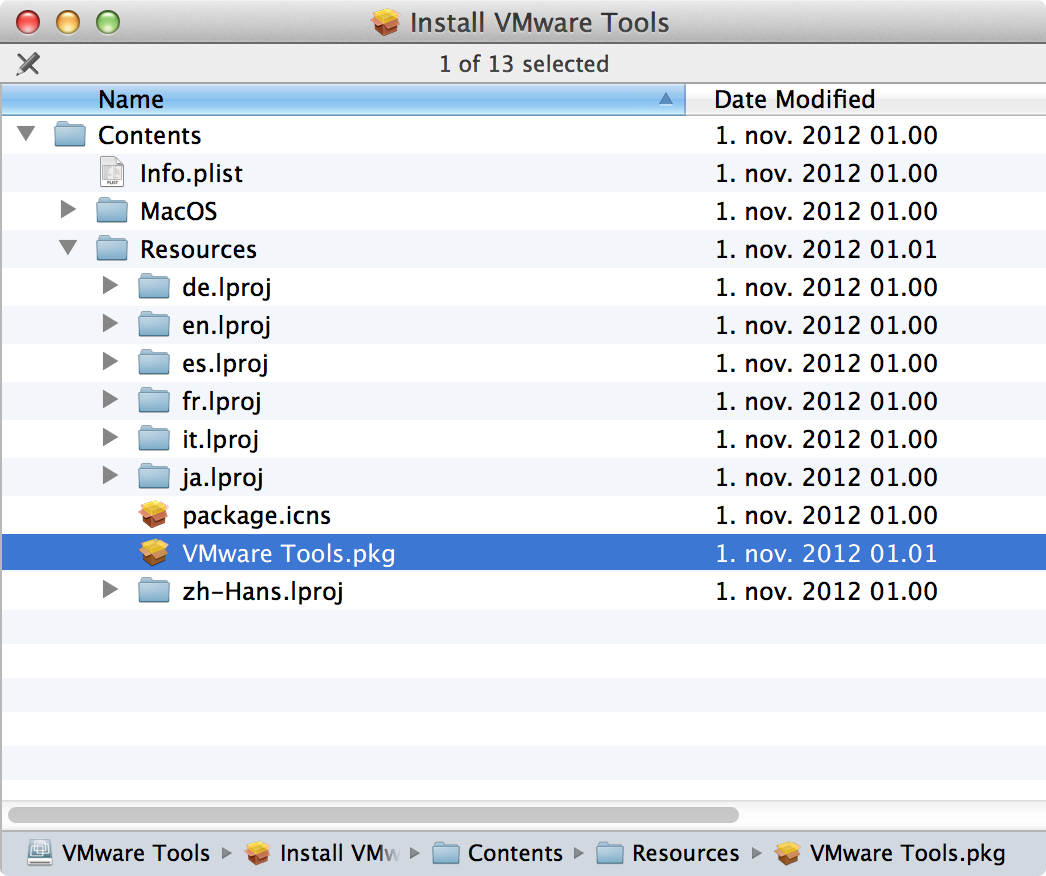
Make a copy of the ‘VMware Tools.pkg’ file to the Desktop, be holding ALT down while dragging the ‘VMware Tools.pkg’ file to the Desktop. (There should be a small green ‘+’ sign on it, before you drop it).
Close the Finder windows and eject the ‘VMware Tools’ diskimage in the Finder.
Then in the ‘Terminal’ window type ‘sudo installer -pkg’ and then a space, then drag the ‘VMware Tools.pkg file from the Desktop into the ‘Terminal’ window, then a space and type ‘-target’ and then a space and then drag the mounted volume ‘ServerHD’ from the Desktop into the ‘Terminal’ window.
It should look something like this:
|
|
Now hit ‘Enter’ and type your administrator password when asked.
The ‘installer’ CLI tool will now install the VMware Tools package into the mounted ServerHD volume.
Once finished close the ‘Terminal’ window, but leave the ‘ServerHD’ volume mounted.
This series of blog posts consists of the following:
- Part 1 – Introduction and reason for doing this
- Part 2 – Creating an never booted DMG using System Image Creator
- Part 3 – Applying a configuration and exporting a Master, using System Image Creator
- Part 4 – Clone the DMG to a Sparseimage file using Disk Utility.app and then install VMware Tools
- Part 5 – Obtain VMware Tools from ESXi host and install into the Sparseimage
- Part 6 – Converting the Sparseimage to VMDK format
- Part 7 – Making the template in vCenter 5.1 using the never booted VMDK