Creating a never booted OS X template in vSphere 5.1 - Part 2 - Creating an never booted DMG using System Image Creator
Start by downloading the newest version of System Image Creator (SIC) from GitHub https://github.com/mondada/SIC/archive/master.zip.
Unzip the archive, and you should have one (or more) BASH scripts.
Open Terminal.app, located in /Applications/Utilities/, and type ‘sudo’ and then a space. Now drag in the downloaded BASH script, in my case called ‘SIC_1.5.sh’.
The command in Terminal should now look something like this:
|
|
Now hit Enter.
When prompted, enter your administrator password and hit Enter.
The result should be a Command Line Menu Interface, looking like this:
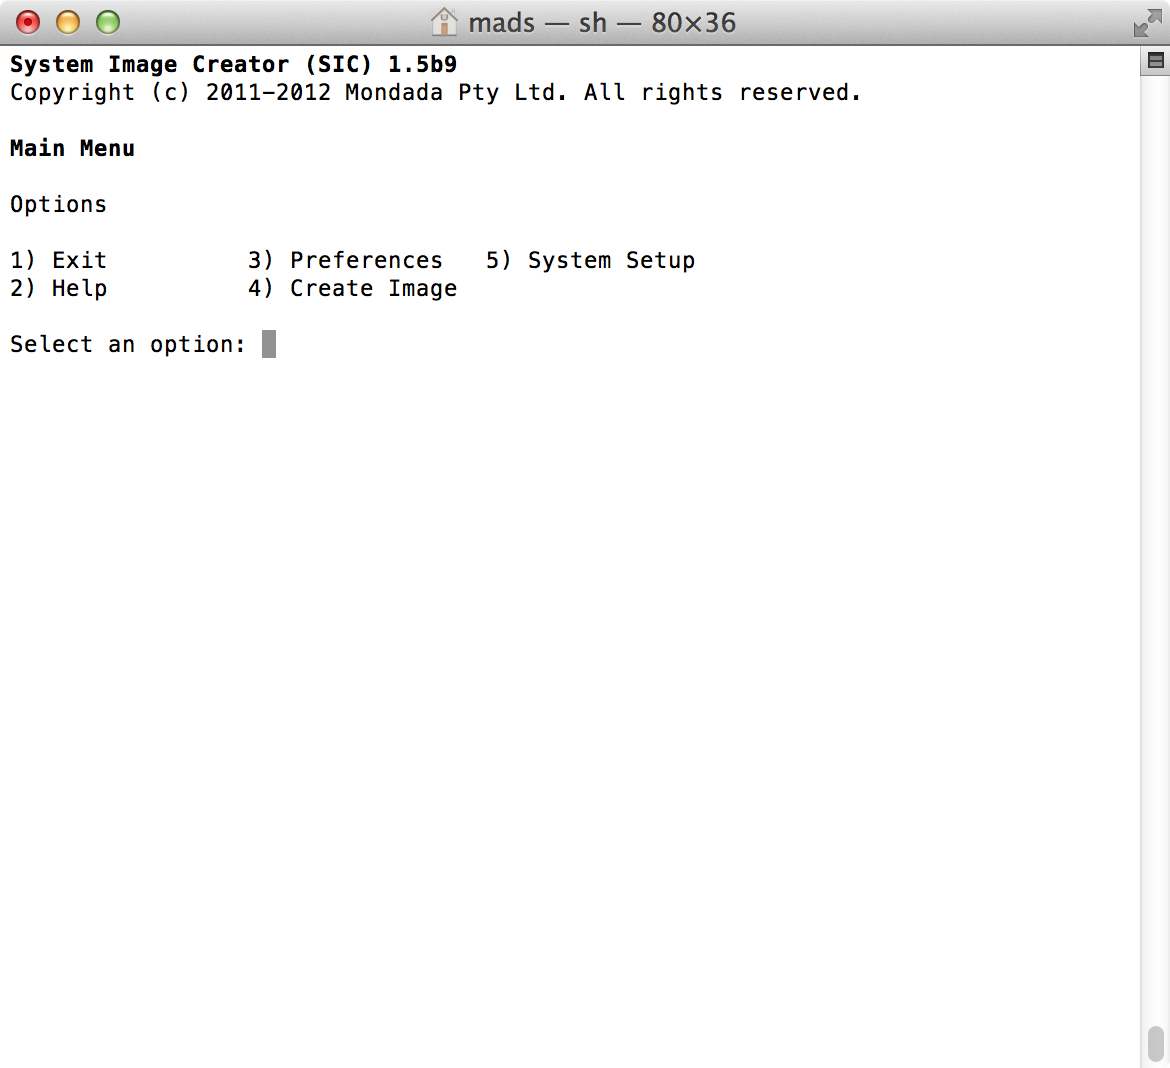
Start by selecting ‘3) Preferences’, to access the SIC BASH script Preferences, to setup the default behaviors of the SIC BASH script.
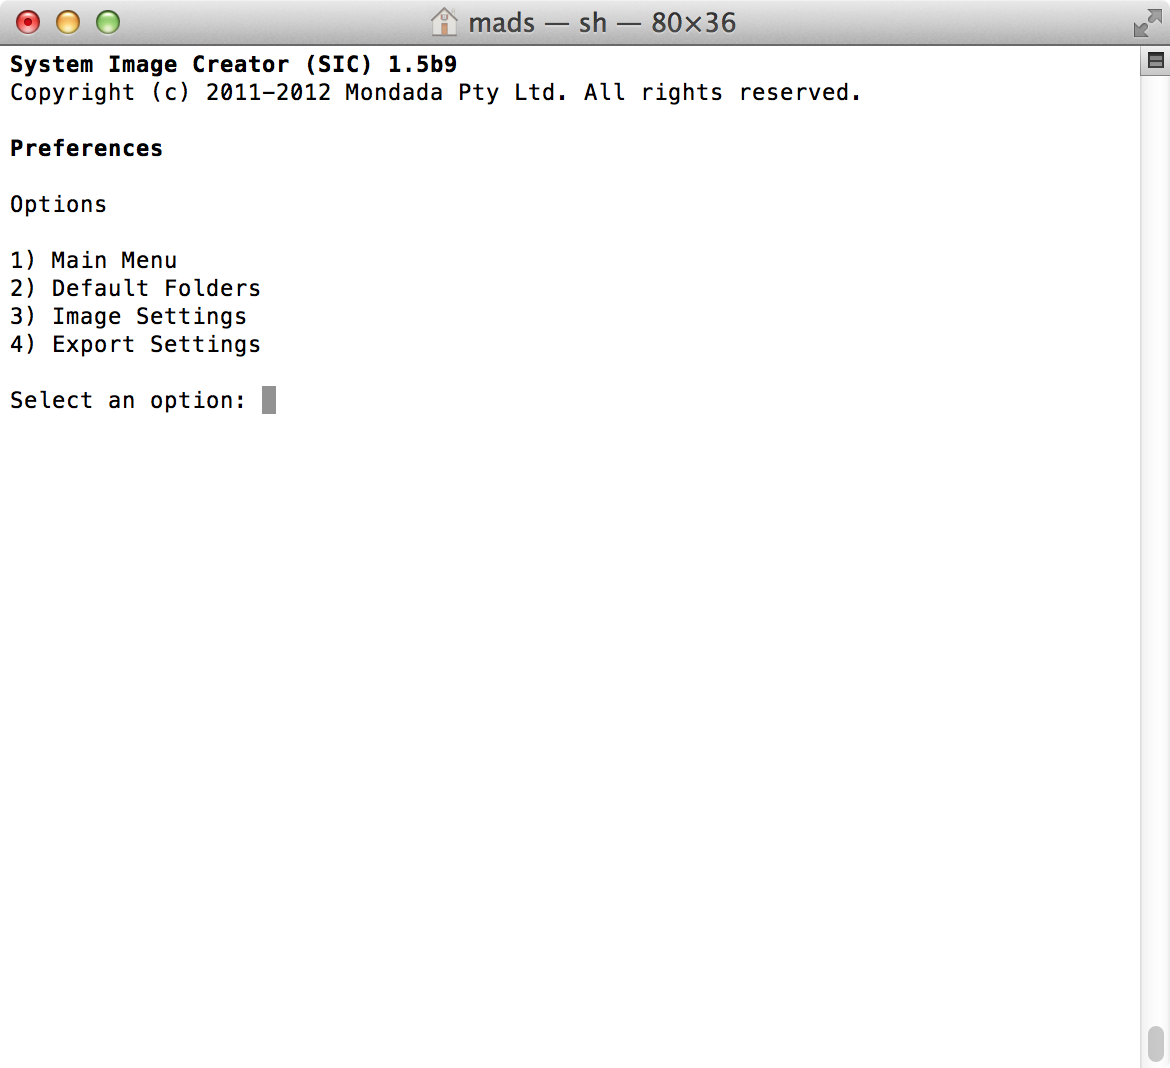
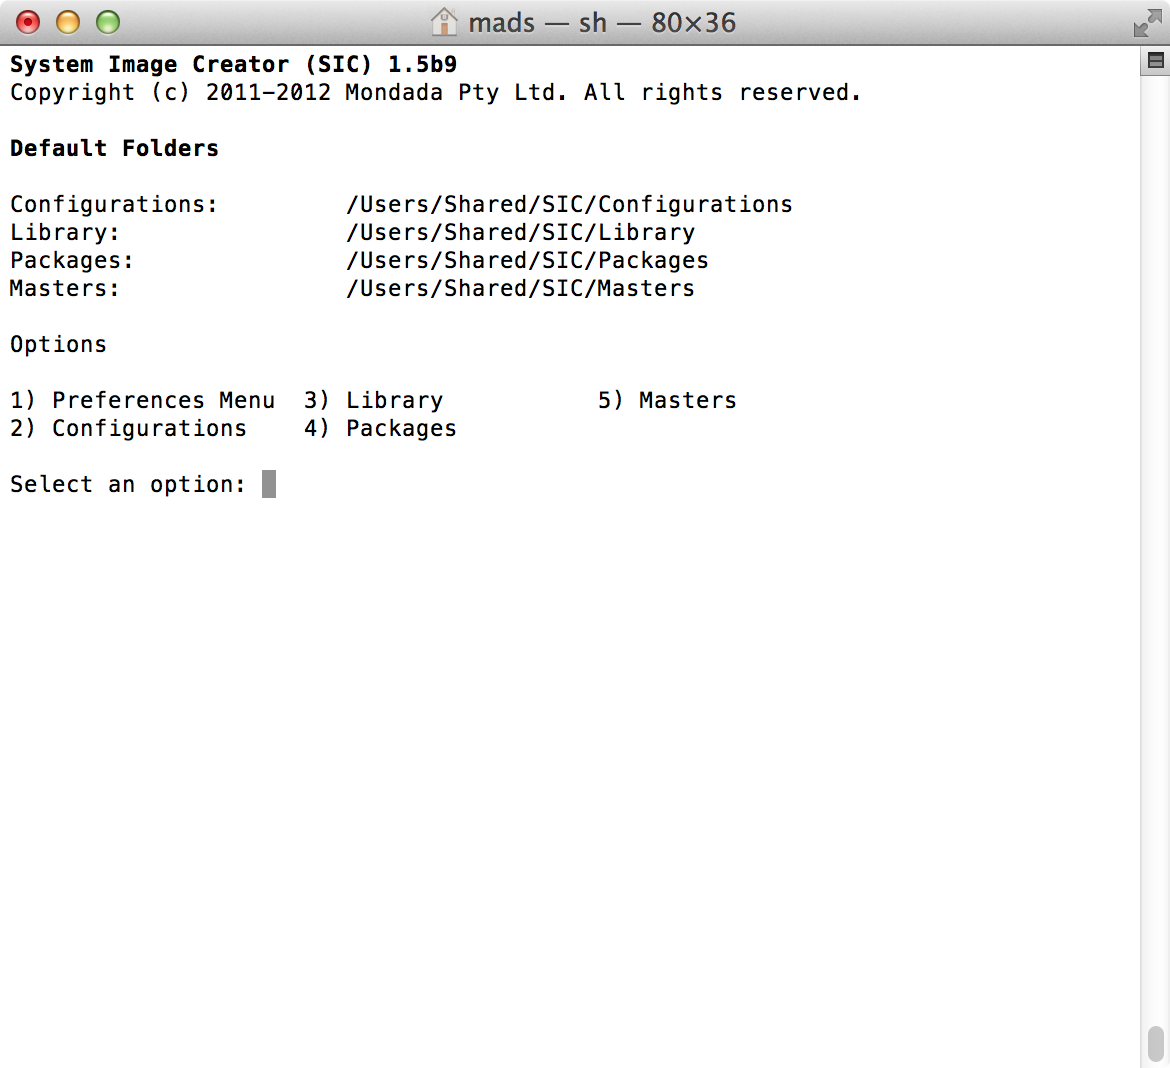
Select ‘2) Default Folders, where you can setup the locations the SIC BASH script stores its ‘Configurations’, ‘Library’, ‘Packages’ and ‘Masters’.
- ‘Configurations’ is a set of configurations which can by applied to a Image which then gets exported as a Master
- ‘Library’ is where your default created OS X installed DMG files are stored. These are unconfigured, and can be used with multiple ‘Configurations’ and then be exported as Masters.
- ‘Packages’ is a repository of ‘.pkg’ or ‘.mpkg’ package files, such as the VMware Tools installer or other similarly installation files.
- ‘Masters’ is the location where the configured DMG files will be exported.
It should be noted that the location where you store the ‘Library’ and the ‘Masters’, should have enough space to contain multiple DMG files of several Gigabytes. Typical a ‘Library’ DMG file of OS X 10.8.4 Mountain Lion is about 5.1GB.
A ‘Masters’ DMG file, is around the same size, but that depends on the settings of the ‘Configuration’ applied and the ‘Export Settings’ of SIC.
If you change any of the locations, when you exit the ‘Default Folders’, by choosing option ‘1) Preferences Menu’, remember to save your settings.
Back at the ‘Preferences Menu’ screen, select ‘3 Image Settings’.
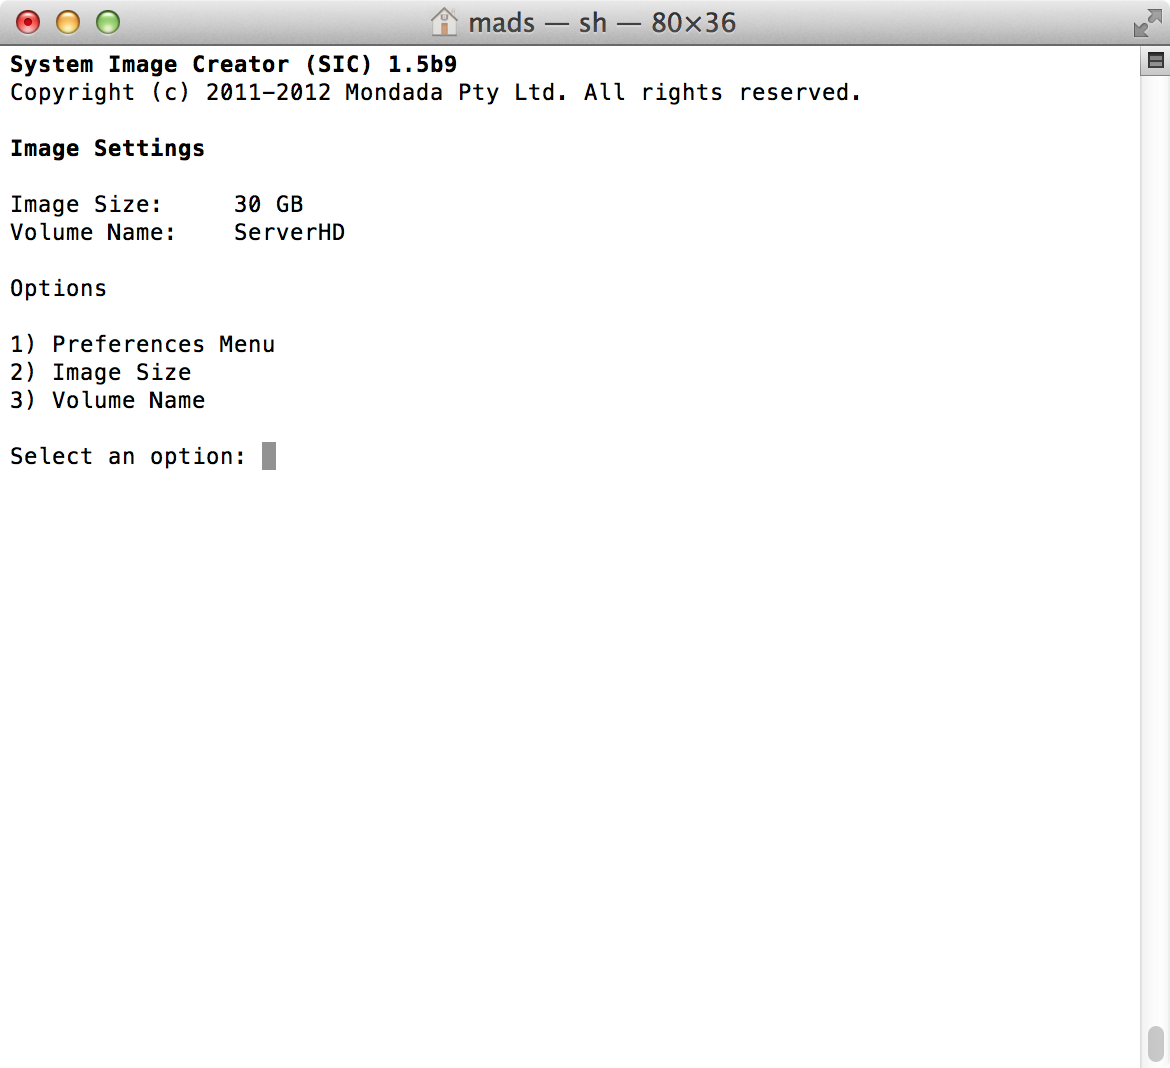
Set the ‘Image Size’, and the ‘Volume Name’ you want to use.
I chose 30GB and a volume name of ‘ServerHD’
Exit the ‘Image Settings’ by selecting ‘1) Preferences Menu’. Remember to save your settings.
Back at the ‘Preferences Menu’ select ‘4) Export Settings’
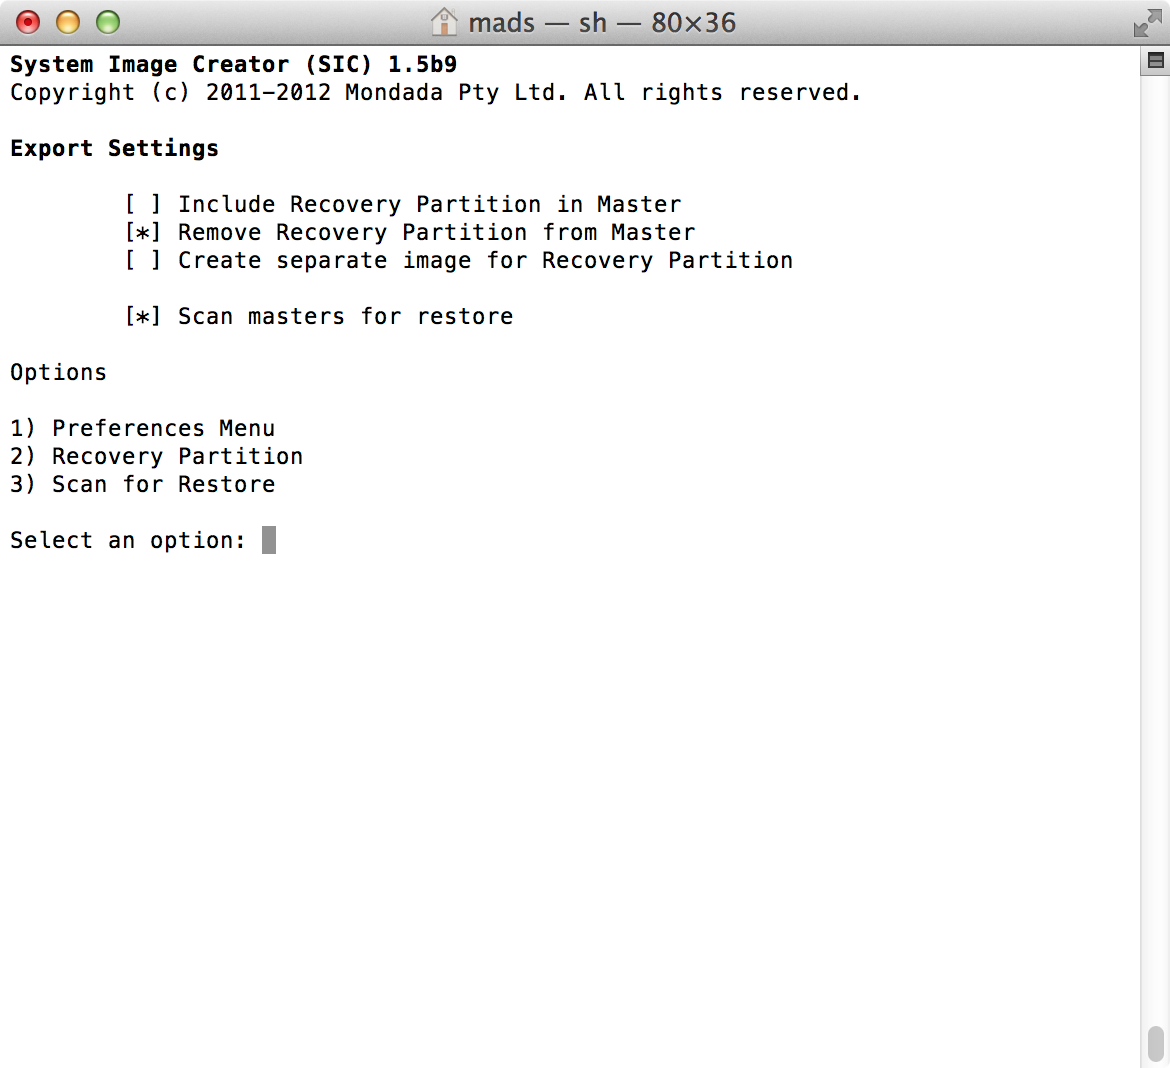
Here I have chosen to ‘Remove Recovery Partition from Master’, to save space on the Storage array in VMware vSphere. And also because if you need to do maintenance on a VMDK containing OS X, it just a easy to add that VMDK to a secondary VM running OS X, and do your maintenance there.
The ‘Scan masters for restore’ is a verification that the Master image can be restore to a hard drive, not actually something we will be using, but it is a good check to do anyway.
Exit the ‘Export Settings’ by selecting ‘1) Preferences Menu’. Remember to save your settings.
Exit the ‘Preferences Menu’ by selecting ‘1) Main Menu’.
Open your Finder and go into your Applications folder, ‘/Applications’, and locate the app called: ‘Install OS X Mountain Lion’.
Right-click (or CTRL+click) on it, and chose ‘Show Packages Contents’, which will open a new Finder window, revealing the contents of the app.
In this new Finder window, navigate to the following folder:
-> Contents -> Shared Support
In here is a file called InstallESD.dmg, double-click on it to mount it.
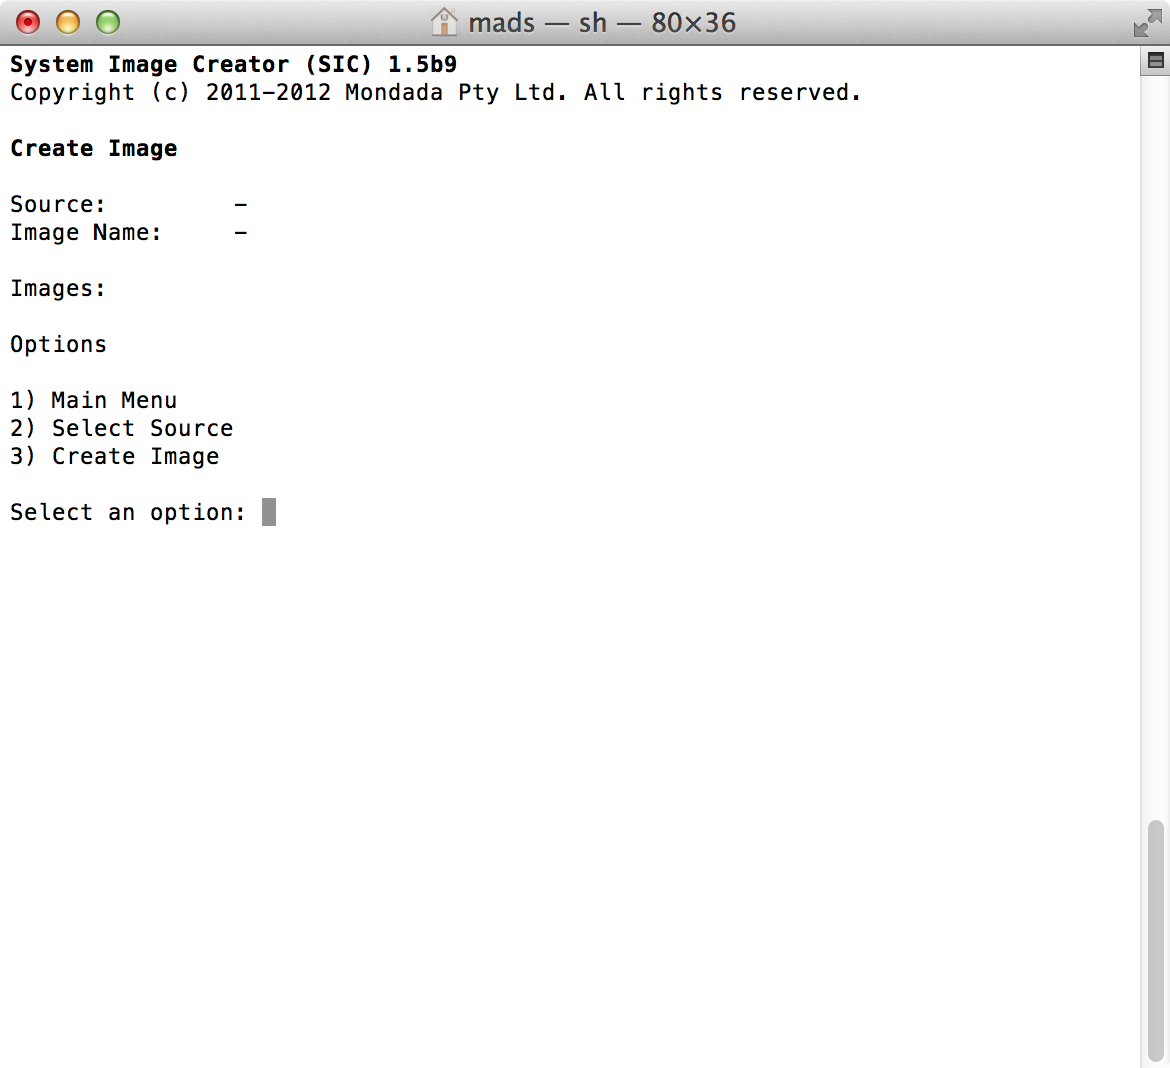
Back in SIC in the Terminal window, choose ‘4) Create Image’
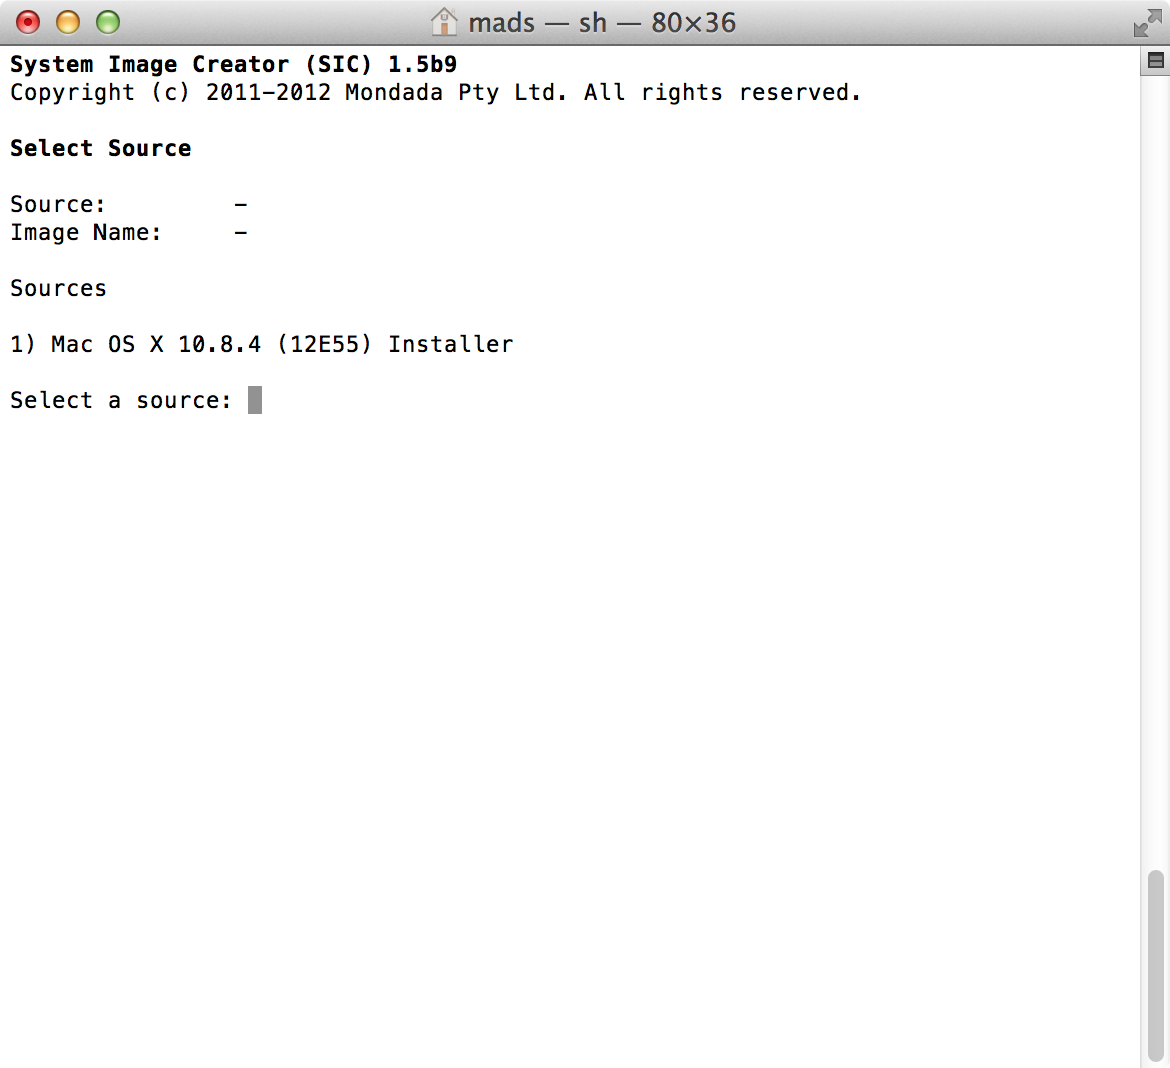
Now choose ‘2) Select Source’, where you should have the option to select the mounted volume, of the ‘InstallESD.dmg’ file.
I my case called ‘1) Mac OS X 10.8.4 (12E55) Installer’.
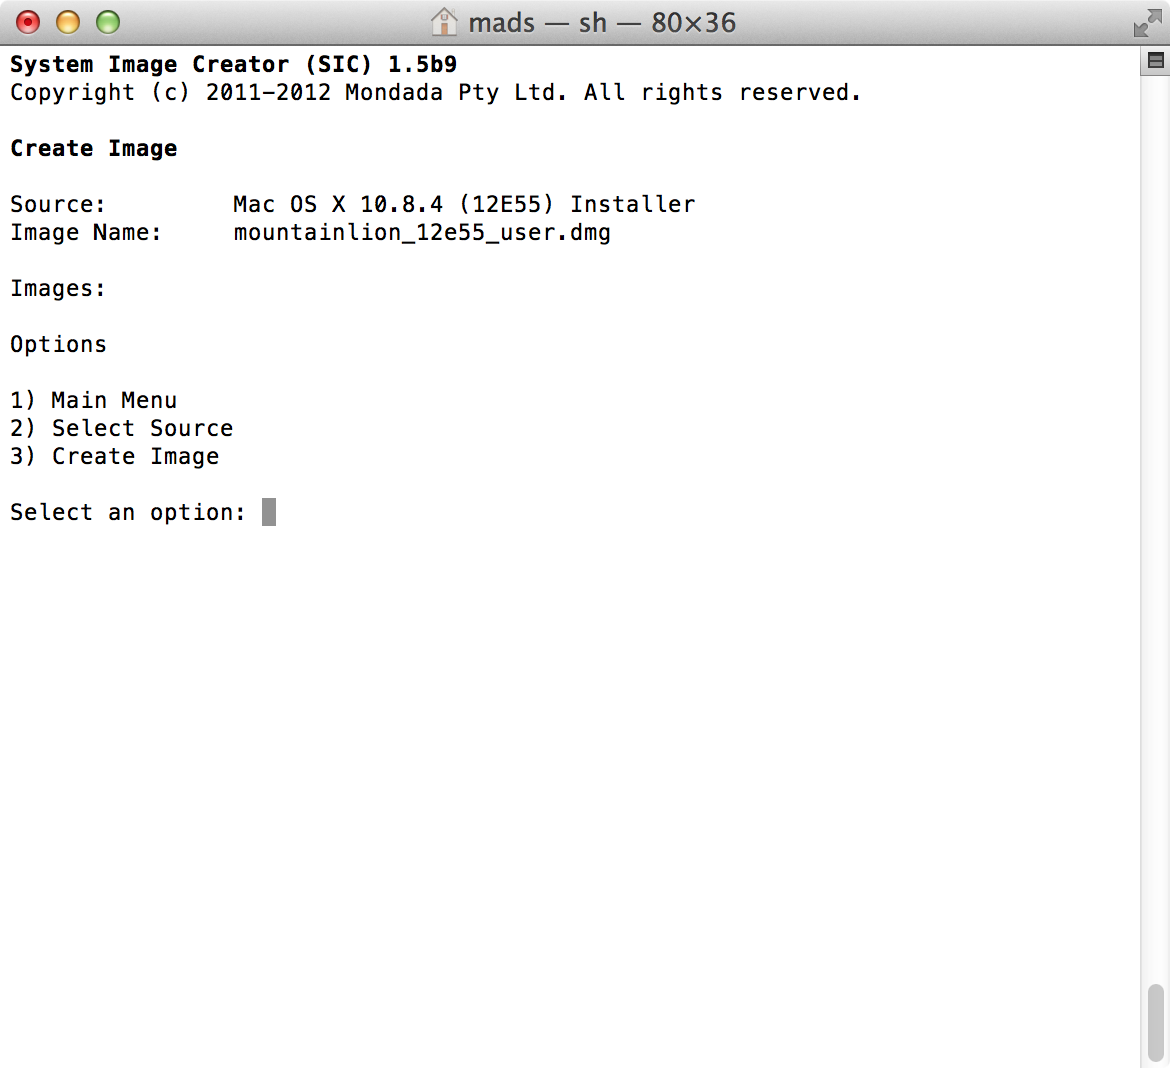
Back at the ‘Create Image’ menu, you will now see that a source has been selected.
When we start the image creation process, the DMG file will be named as illustrated in the screenshot below, and will be placed in the ‘Library’ folder previously selected in the ‘Default Folders’ menu.
Now select ‘3) Create Image’.
SIC will now start by creating a new DMG file with the settings specified earlier in the ‘Image Settings’ menu, and there after installs OS X from the source previous selected into this newly created DMG file.
This series of blog posts consists of the following:
- Part 1 – Introduction and reason for doing this
- Part 2 – Creating an never booted DMG using System Image Creator
- Part 3 – Applying a configuration and exporting a Master, using System Image Creator
- Part 4 – Clone the DMG to a Sparseimage file using Disk Utility.app and then install VMware Tools
- Part 5 – Obtain VMware Tools from ESXi host and install into the Sparseimage
- Part 6 – Converting the Sparseimage to VMDK format
- Part 7 – Making the template in vCenter 5.1 using the never booted VMDK